Lighting Patterns

Photo: Caryn Esplin

Photo: Caryn Esplin
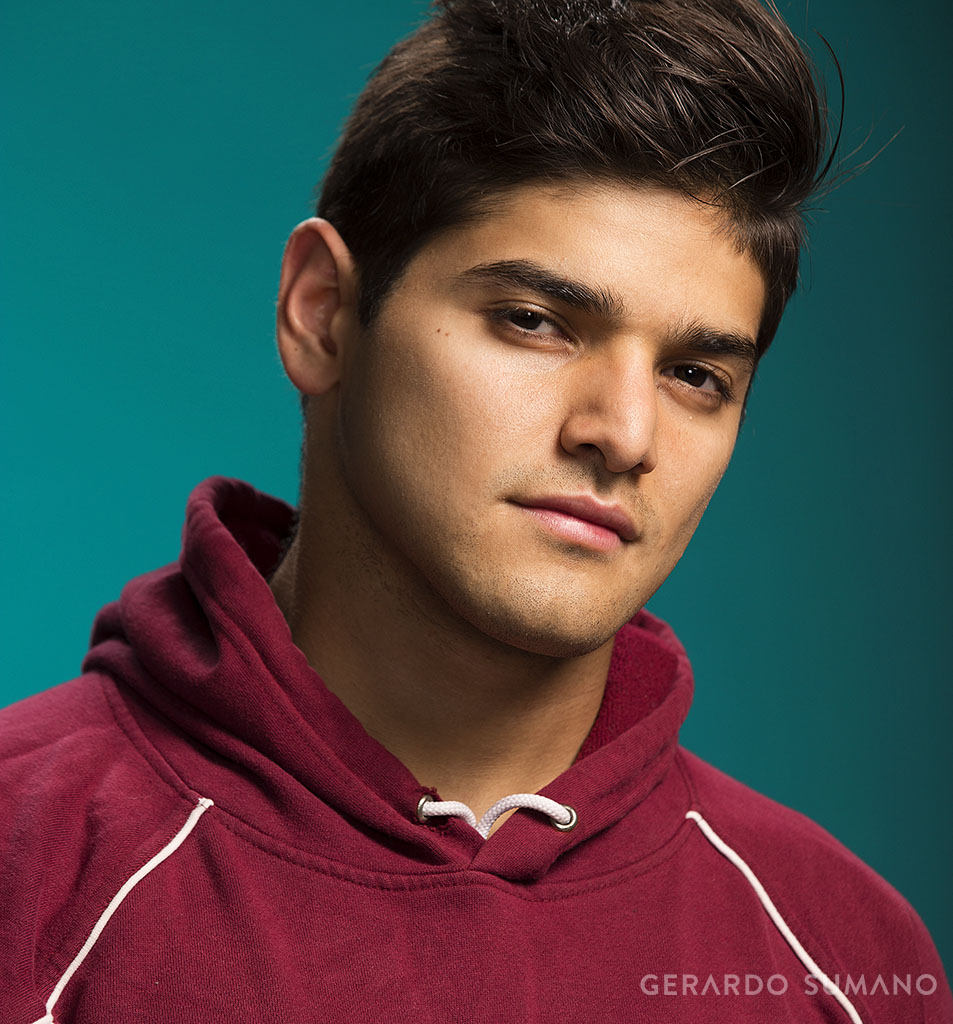
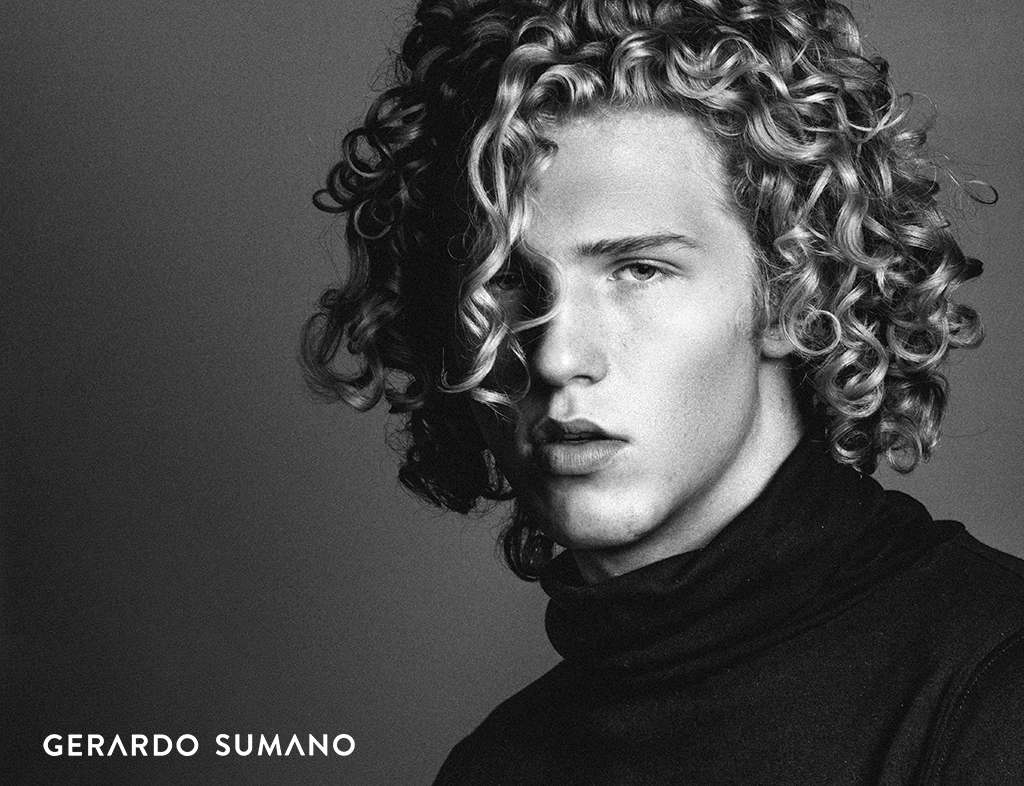

Photo: Douglas Phan
(Click images above to enlarge)
Overview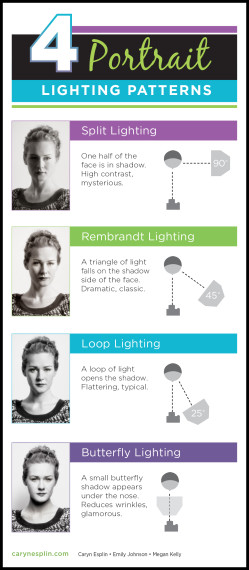

Learning to capturing great head shots is an art… and extremely valuable skill. You can improve your skills by studying experts like Peter Hurley (see video below). These skills can land you a job and they will come in handy when you complete your Corporate project later in the semester.
Preparation
1. Study examples: Head Shots
2. Study Lighting Patterns… Click handout to the right…
Instructions
Capture 3+ Head Shots of 2+ different people and clearly show 3+ different lighting patterns
1. Getting Setup
Select two different people with interesting heads :). Capture various head shots with various lighting patterns. You will post 3+ good head shots of 2+ different people. Frame them so you only show their head and a small amount of shoulders. Check out a prime lens, or portrait lens, and use shallow depth for flattering bokeh (2.8 – 4?) Be careful to keep the eyes tack sharp, wide open, and sparkling clear.
2. Practice Lighting Patterns
Practice all patterns and show 3+ of these lighting patterns in your head shots:
1. Split Lighting
2. Rembrandt Lighting
3. Loop Lighting
4. Butterfly
Study lighting patterns and try several different lighting approaches to produce flattering poses and lighting techniques that fit compliment the various physical attributes of your models.
HELPFUL TIP: Schedule a session with the TA or instructor to be sure you understand the various lighting patterns
LIGHTING GEAR: Check out some of the lighting gear, as needed, to demonstrate at least three different and distinct lighting patterns. Be sure you label the head shots in your blog with the lighting patterns
3. Position the head properly
Watch the Peter Hurley video “It’s all about the Jaw!” then practice helping your models move their foreheads forward and slightly tilt their heads to present a flattering jawline, while staying relaxed. It is worth the effort! YOU CAN help your clients / models look their best.
4. Blog Post
Save your full-size .psd images, but also save them as jpegs with the lng side at 1024 pixels. Capture 3+ Head Shots of 2+ different people and clearly label 3+ different lighting patterns.
Follow proper Blog Post Guidelines!
Create another blog post that also follow proper Blog Post Guidelines for your SQIBB images.
5. Submission
Follow the Submission Process to submit your Lighting Pattern blog post and your SQIBB blog post.
NOTE: If you have not set up your website correctly yet, please do so now! Watch the Website setup videos, and get help from a lab assistant if this is not easy for you. You need to first set up your website categories, then create your pages, then assign your blog post to that category and add a featured image. Voila’ your post will automatically show up on your page!
CAUTION: Your assignment is not complete until you submit it here. However, you are allowed a one-time extension, if you choose to use your mulligan. (See syllabus). We check your blog post for completion right at the deadline, so please do not add things after submitting your link, until it has been graded.
Here you can create the content that will be used within the module.
Peter Hurley: It’s all about the Jaw!
Peter Hurley: How to Use Studio Lighting
Rubric
NOTE: Meeting the minimum requirements is “average” and constitutes an 80% or B- grade, according to the University Grading Guide. To receive a higher grade, students should excel.
2. IMAGE QUALITY:
Requirement: 3+ Head shots of 2+ different people – Show variety – Stunning, sharp eyes; Bokeh to set off subject; Close framing; Only small amount of shoulders; 3+ different lighting patterns – Flattering angles & Jaw lines; Relaxed posed.
Images: Light – Focus – Composition – Creativity
3. SUBMISSION:
Follow the Submission Process